Add a Mask Through Filmora's Work Area
Applying a video mask in Filmora for Mobile is a breeze, and you can follow this short guide to try it yourself:
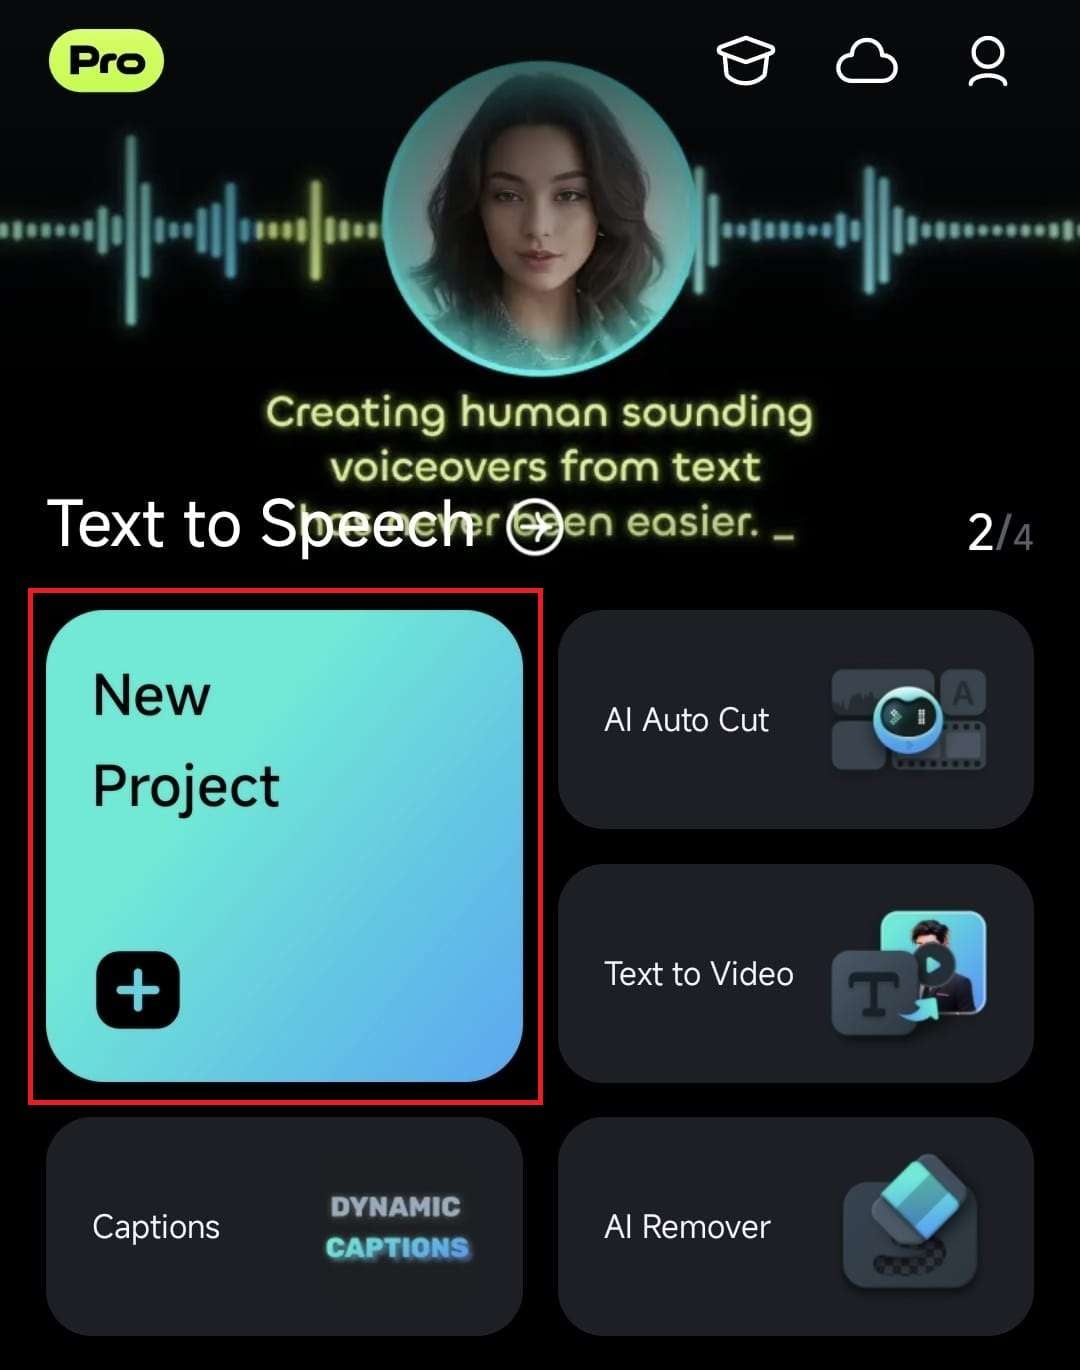
1. Tap the blue Plus icon in the Menu bar or hit the New Project button in the Quick Access panel on Filmora's startup screen.
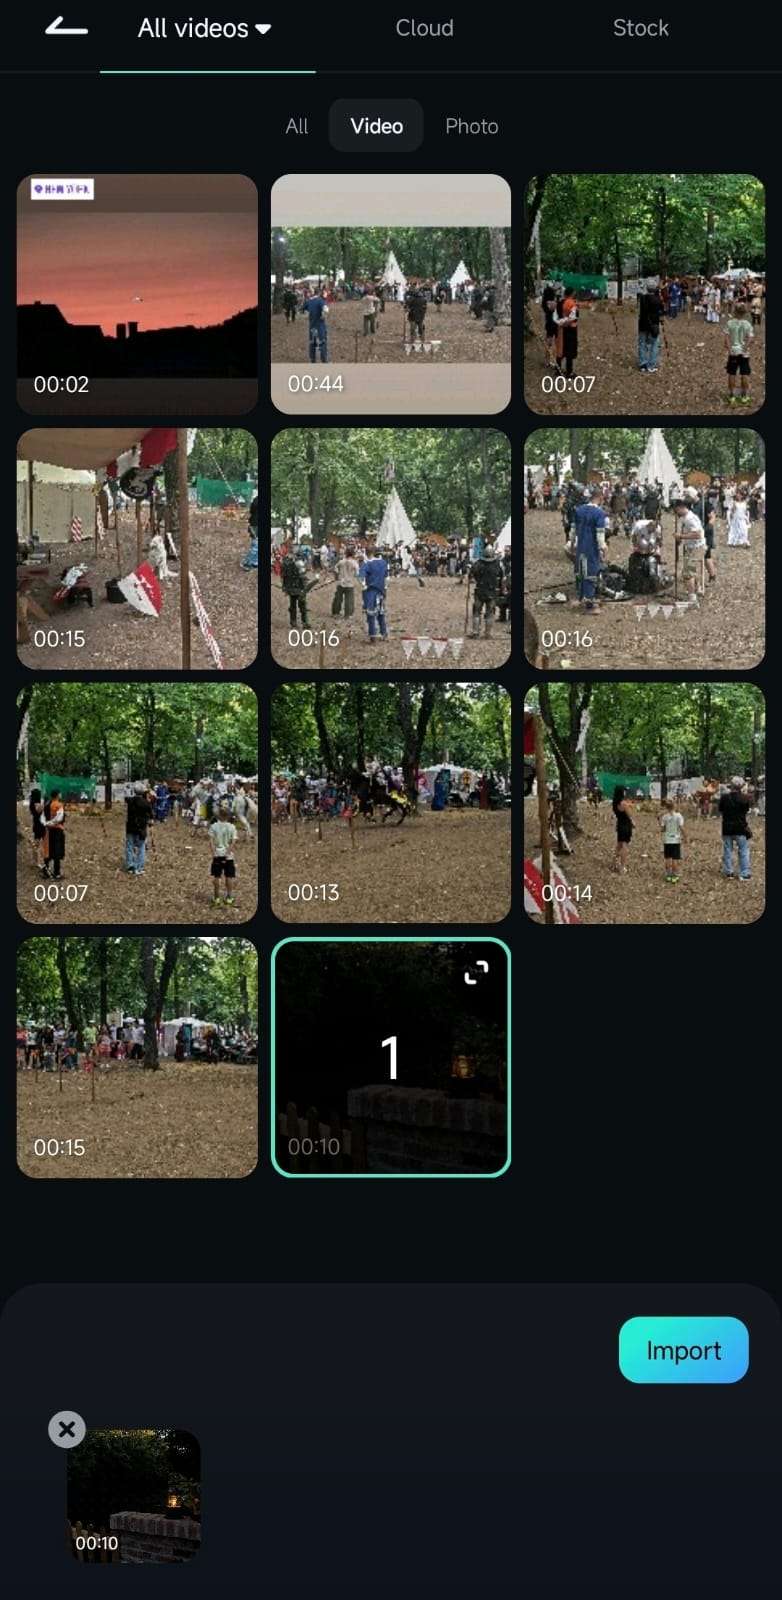
2. Select the video by tapping on it and press the Import button to add it to Filmora's Work Area.
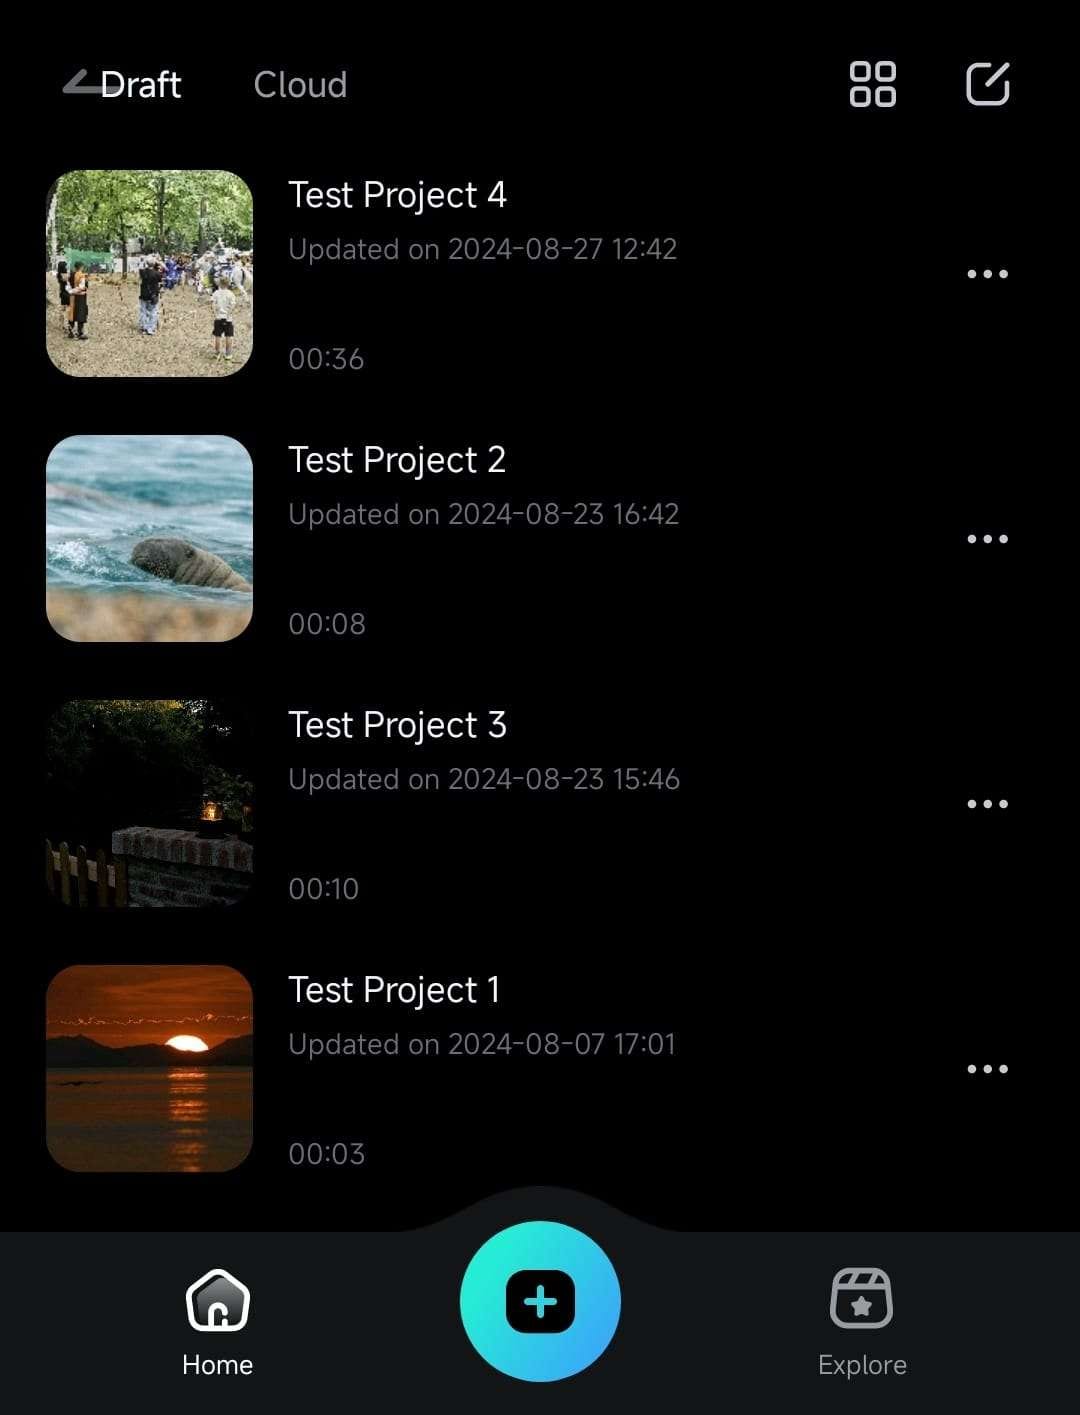
3. Alternatively, expand the Project Management panel on the app's startup screen and open an existing video project.
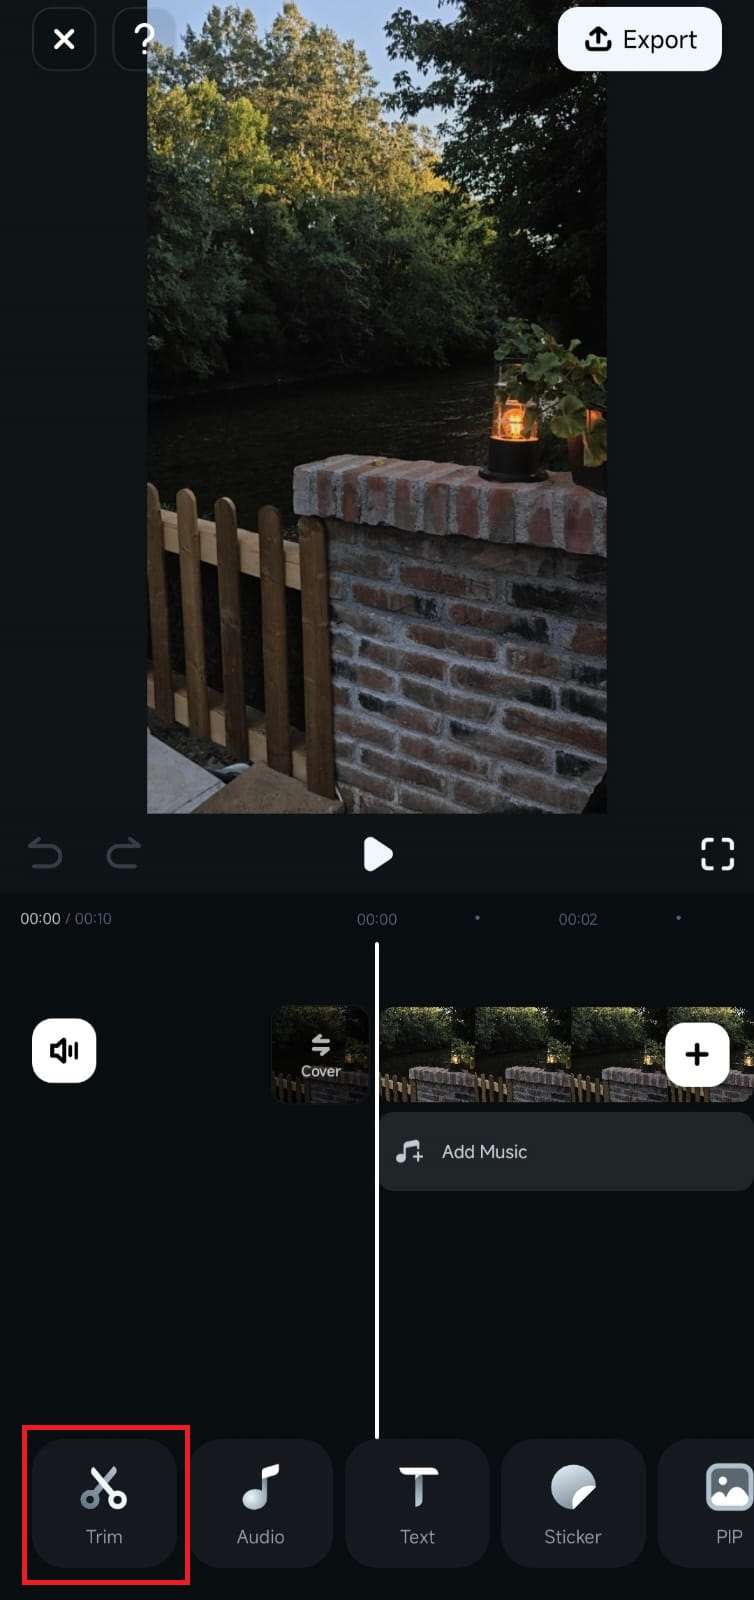
4. Inside Filmora's Work Area, tap on a video in the Timeline to select it, or press the Trim button in the Toolbar at the bottom.
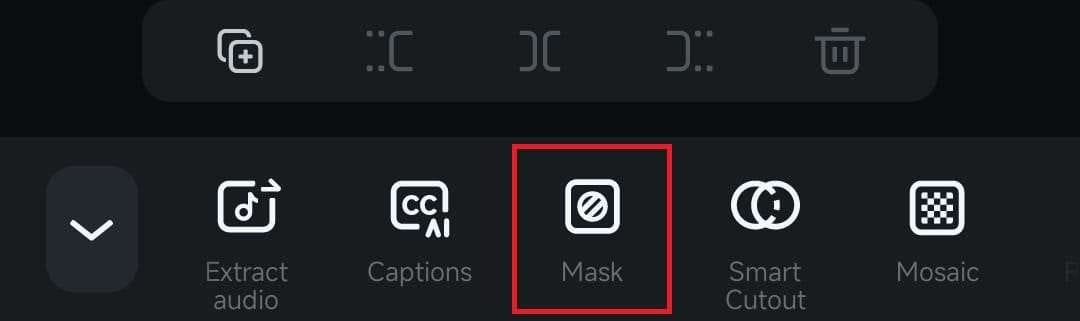
5. Scroll the Toolbar until you find the Mask option and click on it.
6. Select a mask you want to add and tap the Checkmark button to apply it.
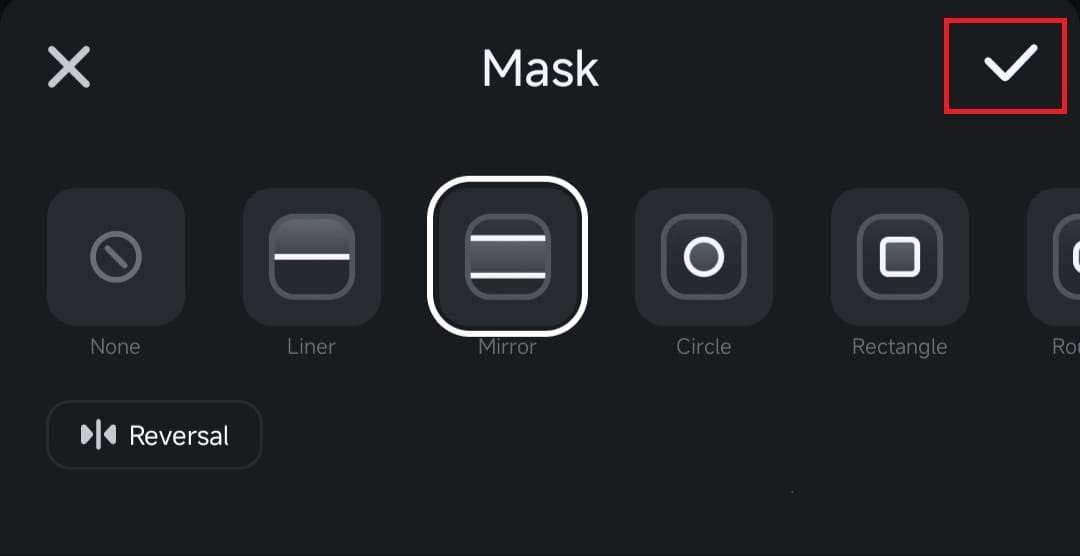
Note: The Mask menu has a Reversal option in the bottom right corner. Clicking it will alternate whether the mask shows or hides a particular area.
Customize the Masking Shape to Your Liking
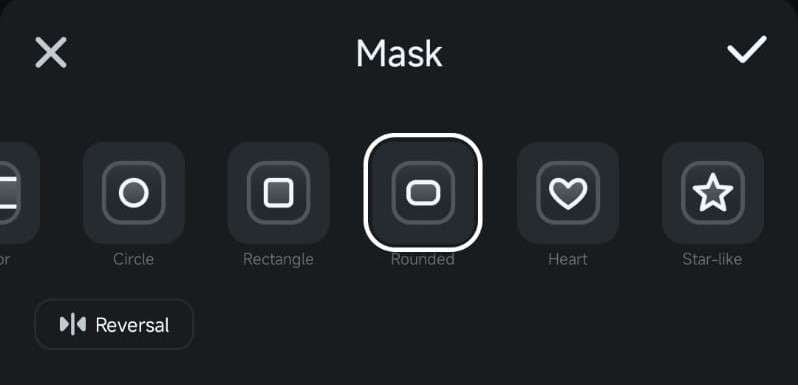
While all Filmora for Mobile masks can be reversed and their border effect strength adjusted, some masks, such as Circle, Rectangle, and Rounded, can also be further customized.
1. Select one of the three mentioned masking shapes.
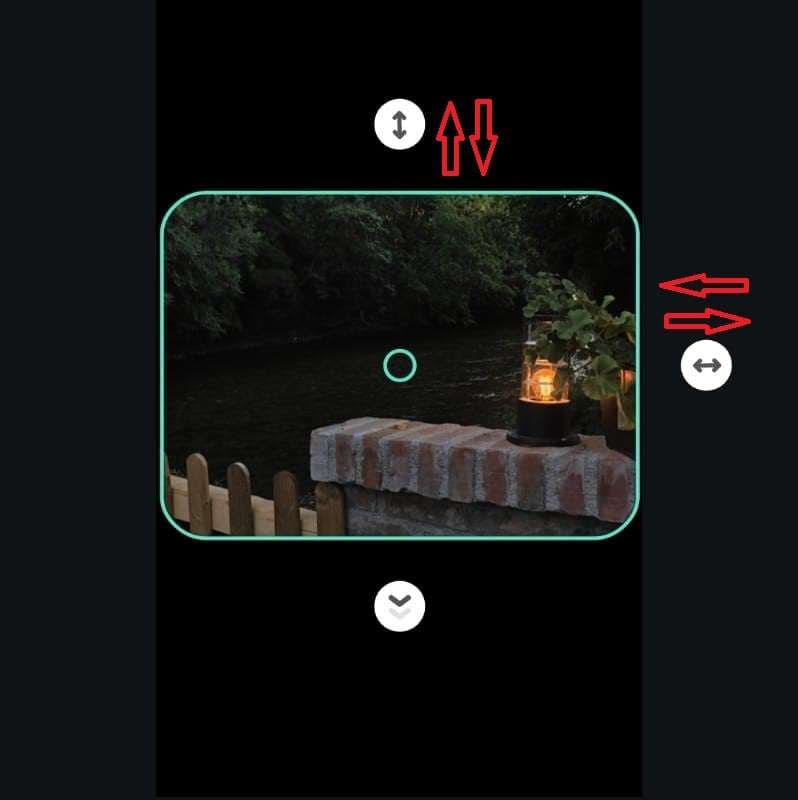
2. Drag their sides to adjust the masking shape's height and width.
Note: For the best effect, you should combine masking shapes, border effect strength adjustments, size customizations, and the reversal option.
Was This Helpful?
Thanks for your feedback.
Can you tell us what didn't work for you?
Email address is optional. Leave it blank if you do not need follow-up.
Feedback sent!