Apply the Mosaic Effect
Like most video editing tools in Filmora for Mobile, mosaics can be accessed through the mobile editing app's Work Area, and you can get to them by following this short guide:
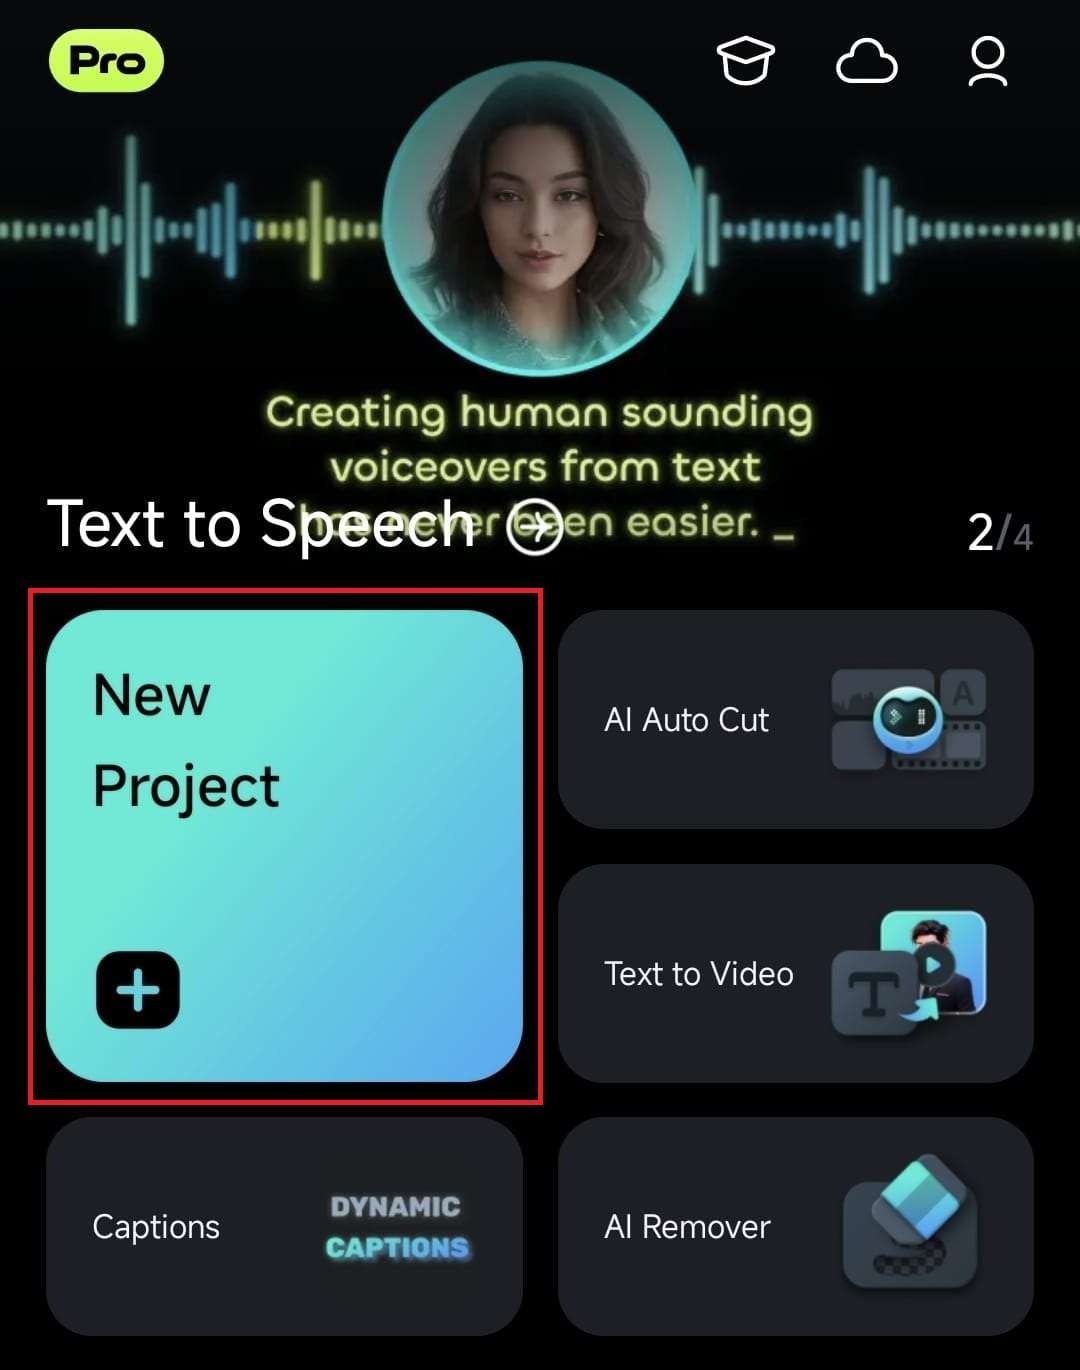
1. Create a new project from Filmora's startup screen by tapping the appropriate button in the app's Quick Access panel.
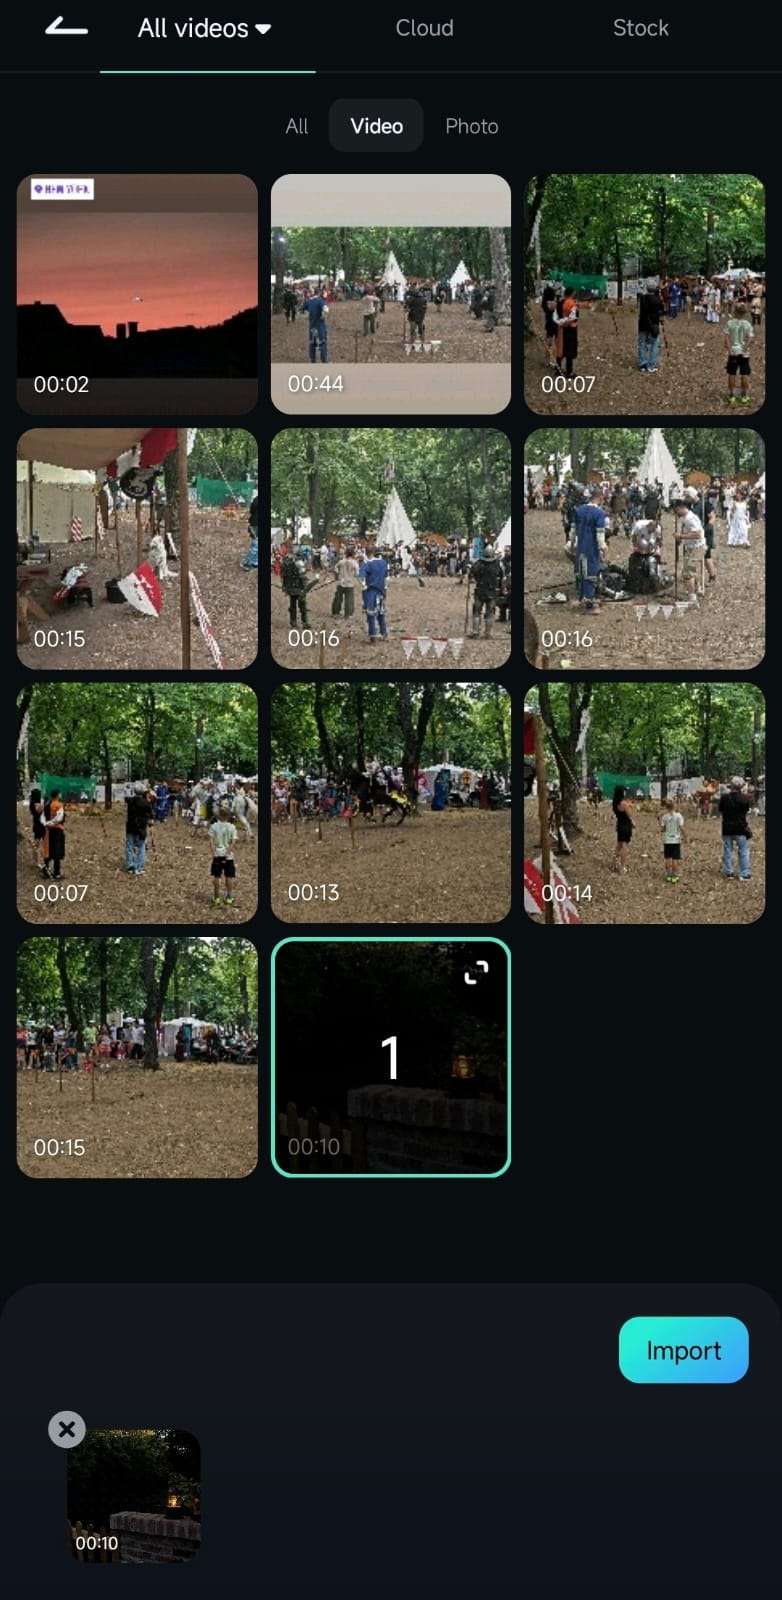
2. Pick a video to which you want to add the mosaic effect and press the Import button to add it to Filmora's Work Area.
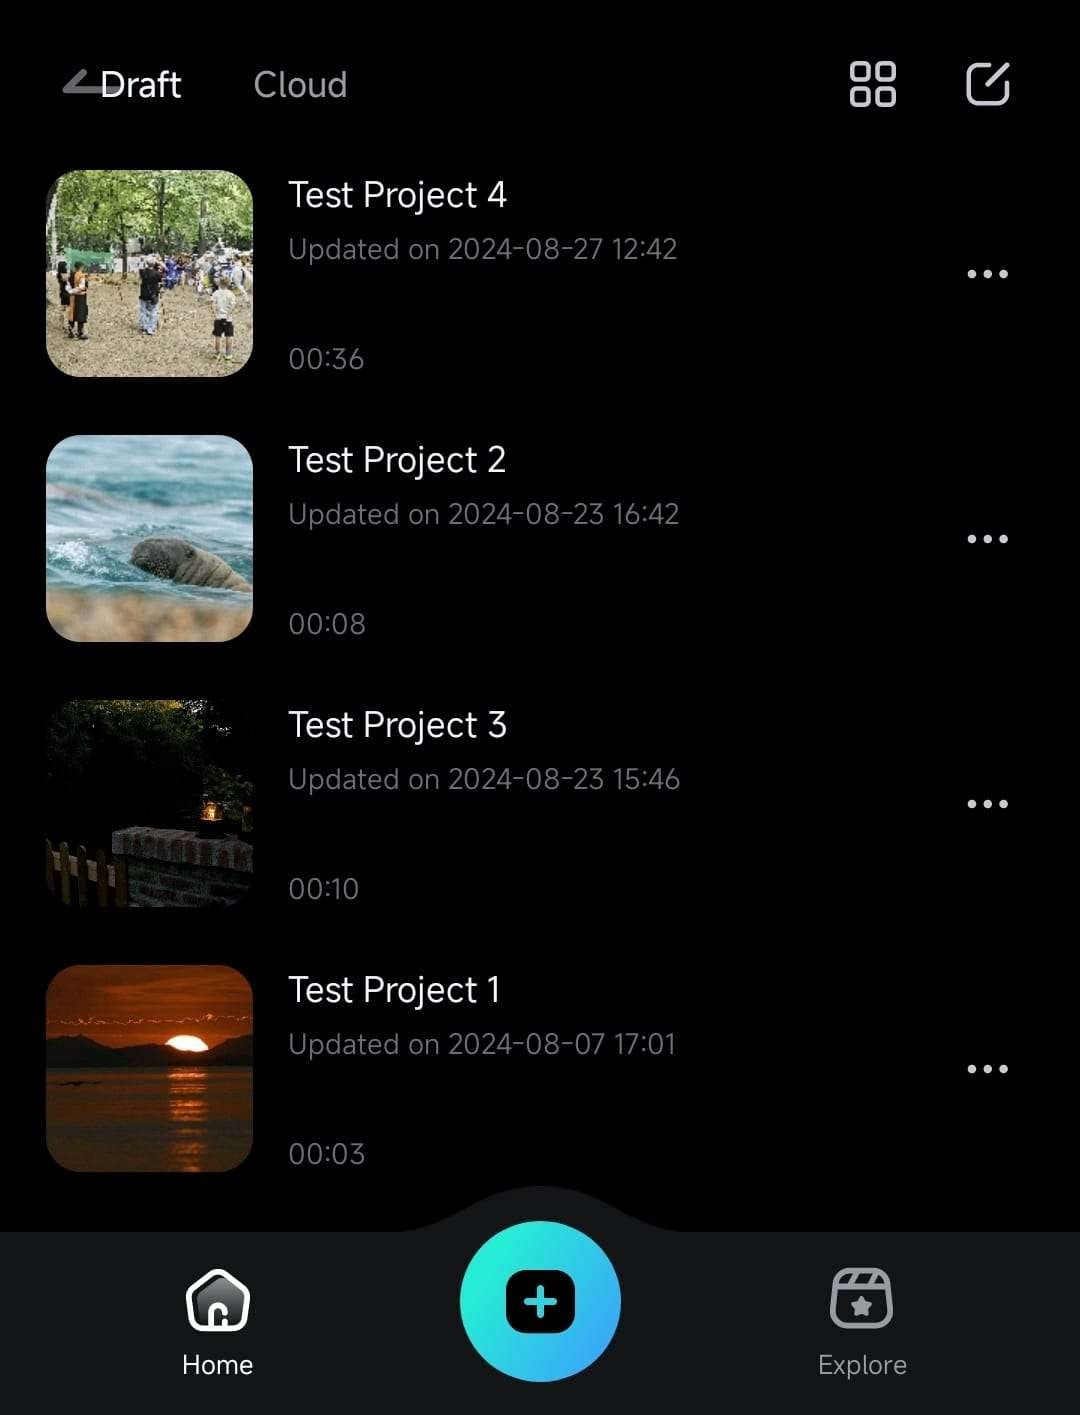
3. You can also open an existing video by expanding the Project Management panel on the startup screen and tapping on a particular project.
4. Once you have a video in the app's Work Area, either tap on it in the Timeline to select it or hit the Trim button in the Toolbar at the bottom.
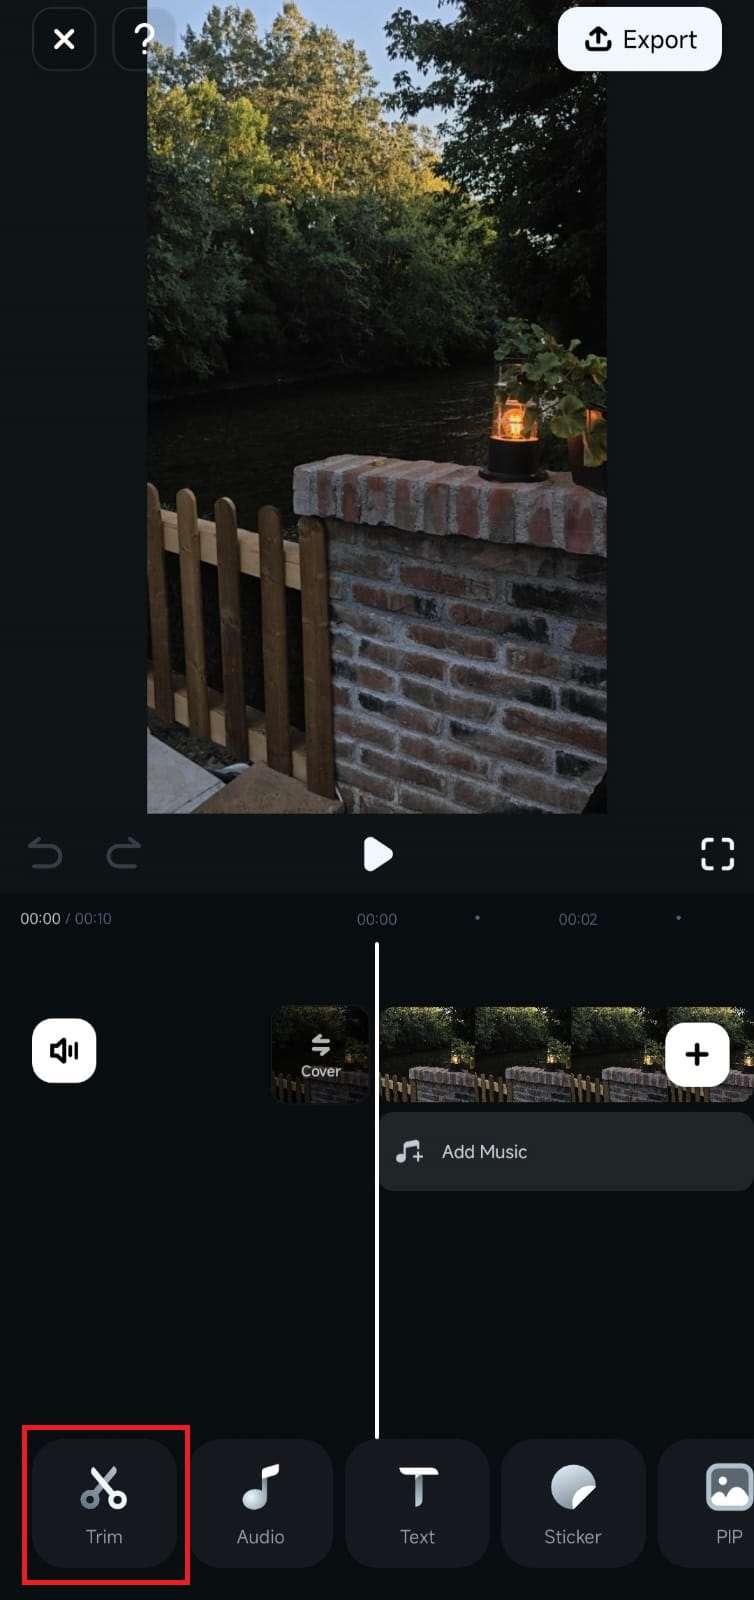
5. Scroll the now-changed Toolbar, find the Mosaic option, and click on it.
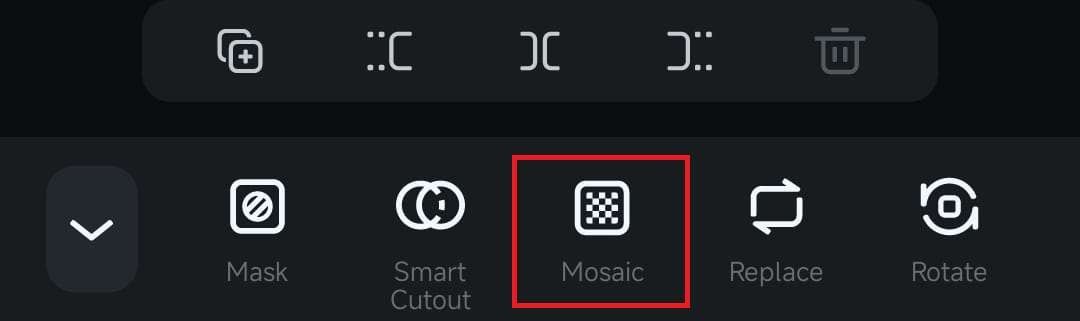
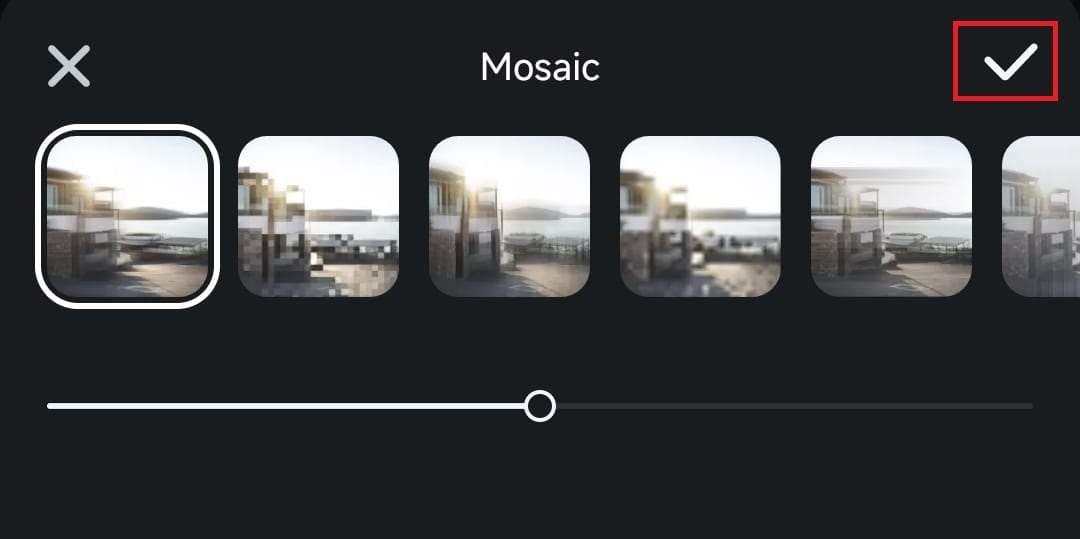
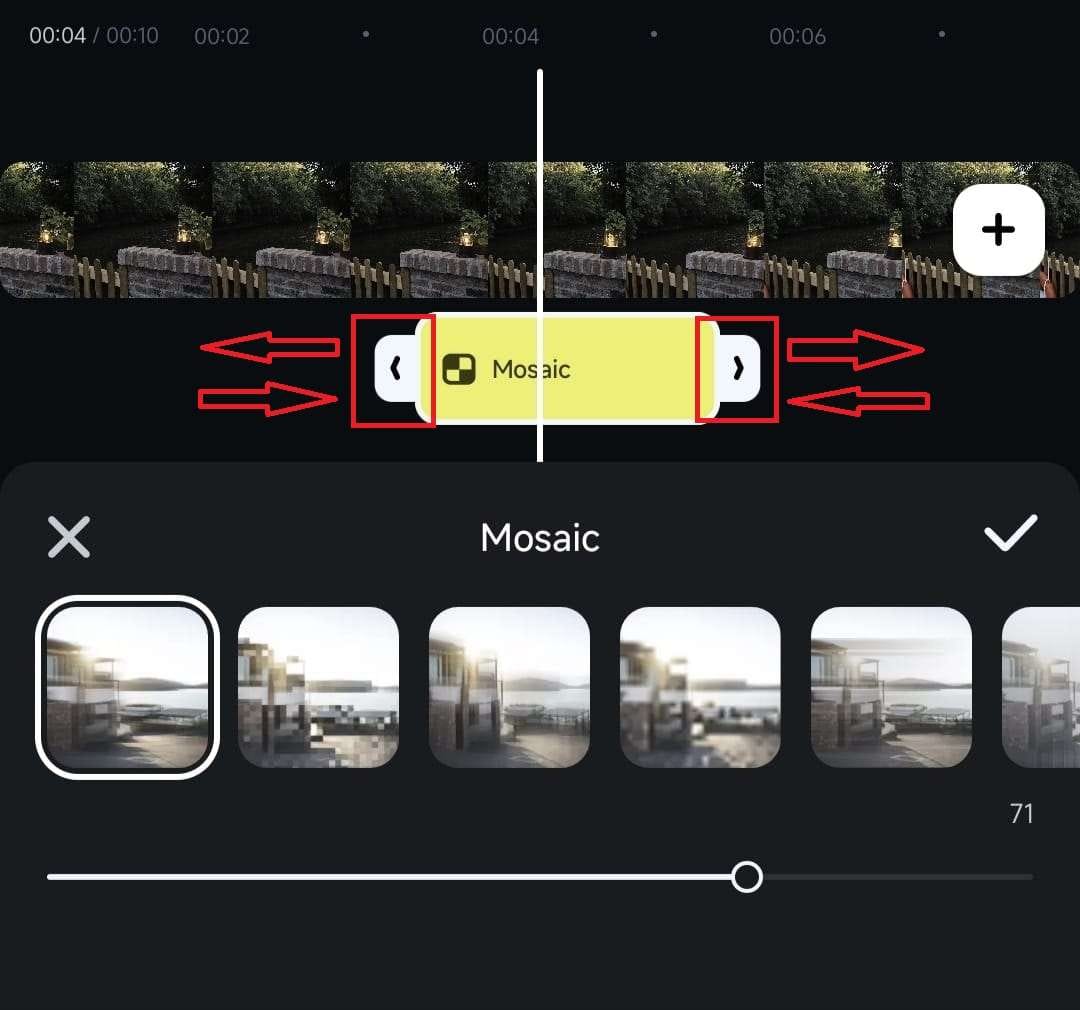
6. Pick a mosaic effect and preview the video before you hit Checkmark to apply it.
Adjust the Mosaic Effect's Aspects
While applying a mosaic effect is seamless in Filmora for Mobile, creating a unique visual effect requires a few more steps. Namely, you'll need to customize the mosaic effect by adjusting its size, strength, and duration, and you can do it by following these steps:
1. It's best to start with the mosaic effect's size; you can adjust that in the Preview panel at the top. Press and drag the Resize button to customize the effect's size.
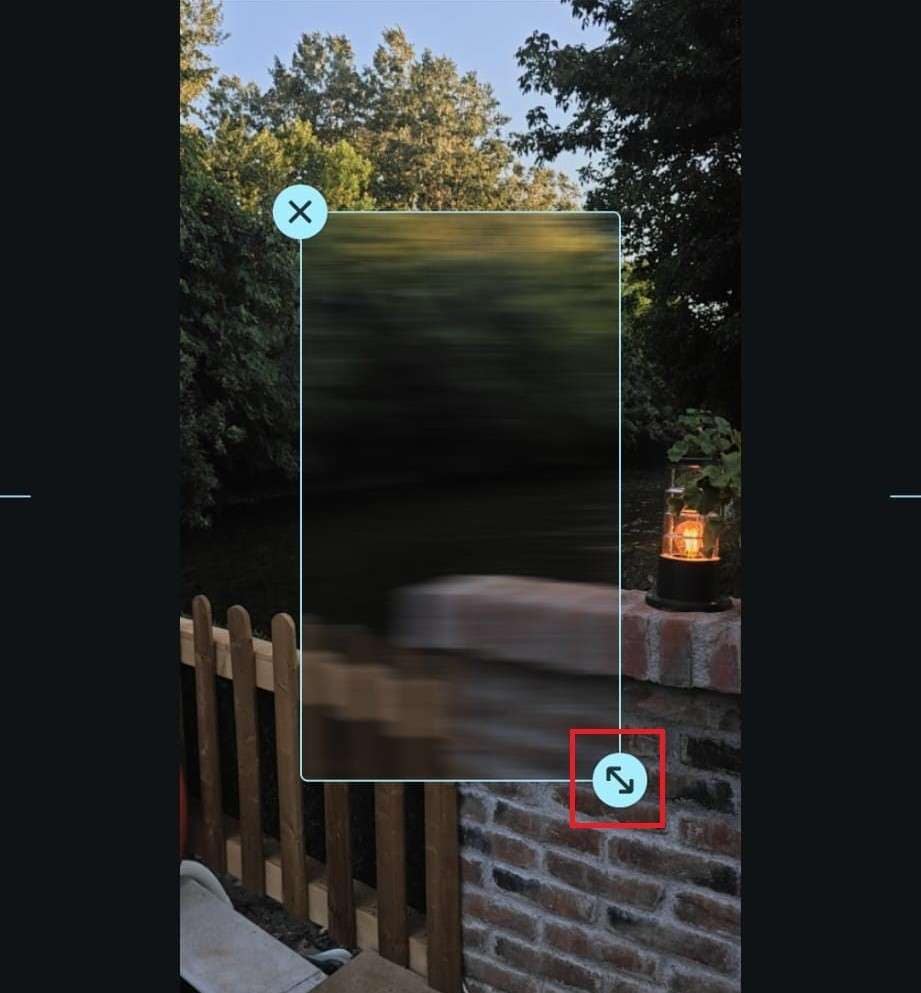
Note: You can also rotate the mosaic effect while adjusting its size in the Preview panel.
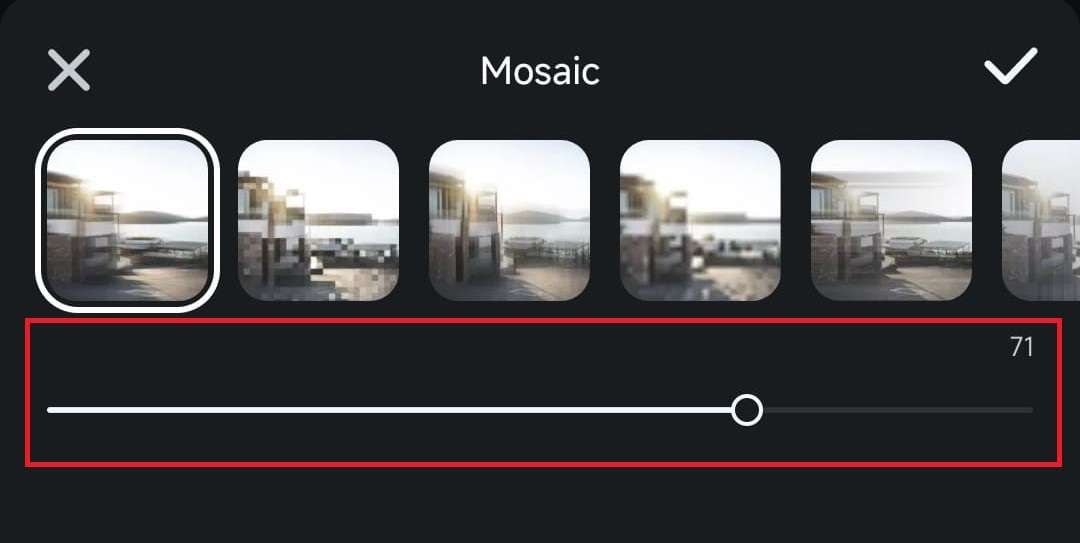
2. With a mosaic effect selected in the menu at the bottom, drag the slider underneath it to adjust the effect's strength.
3. Finally, there's the effect's duration, which you can modify in the Timeline under the clip. Just press and hold on the sides of the mosaic effect and move them left or right, depending on whether you want to shorten or lengthen the mosaic effect, have it last for a few seconds, or apply it to the entire video.
Was This Helpful?
Thanks for your feedback.
Can you tell us what didn't work for you?
Email address is optional. Leave it blank if you do not need follow-up.
Feedback sent!