Navigate to the Opacity Tool in the Trim Menu
Filmora for Mobile's Opacity tool sits inside the Trim menu in the mobile editing app's Work Area. To get to it, you'll need to create a new editing project or open an existing one, and you can do that by following these steps:
1. On the app's startup screen, locate the Quick Access panel and tap the New Project button.

Alternatively, open an existing video editing project from the Project Management panel below the Quick Access panel.
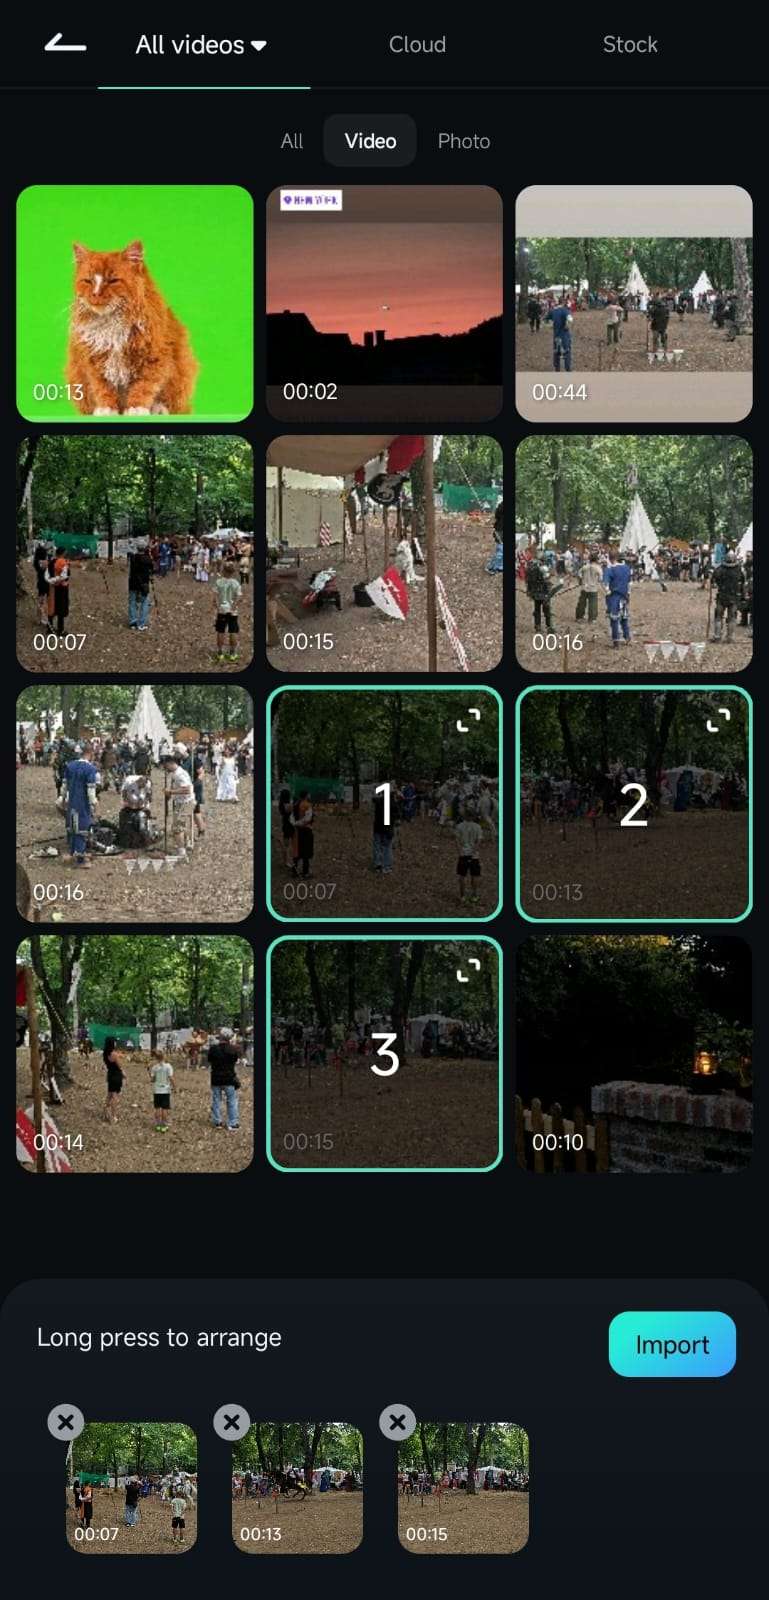
2. Add video clips to Filmora's Work Area by tapping on them to select them and pressing the Import button in the bottom right.
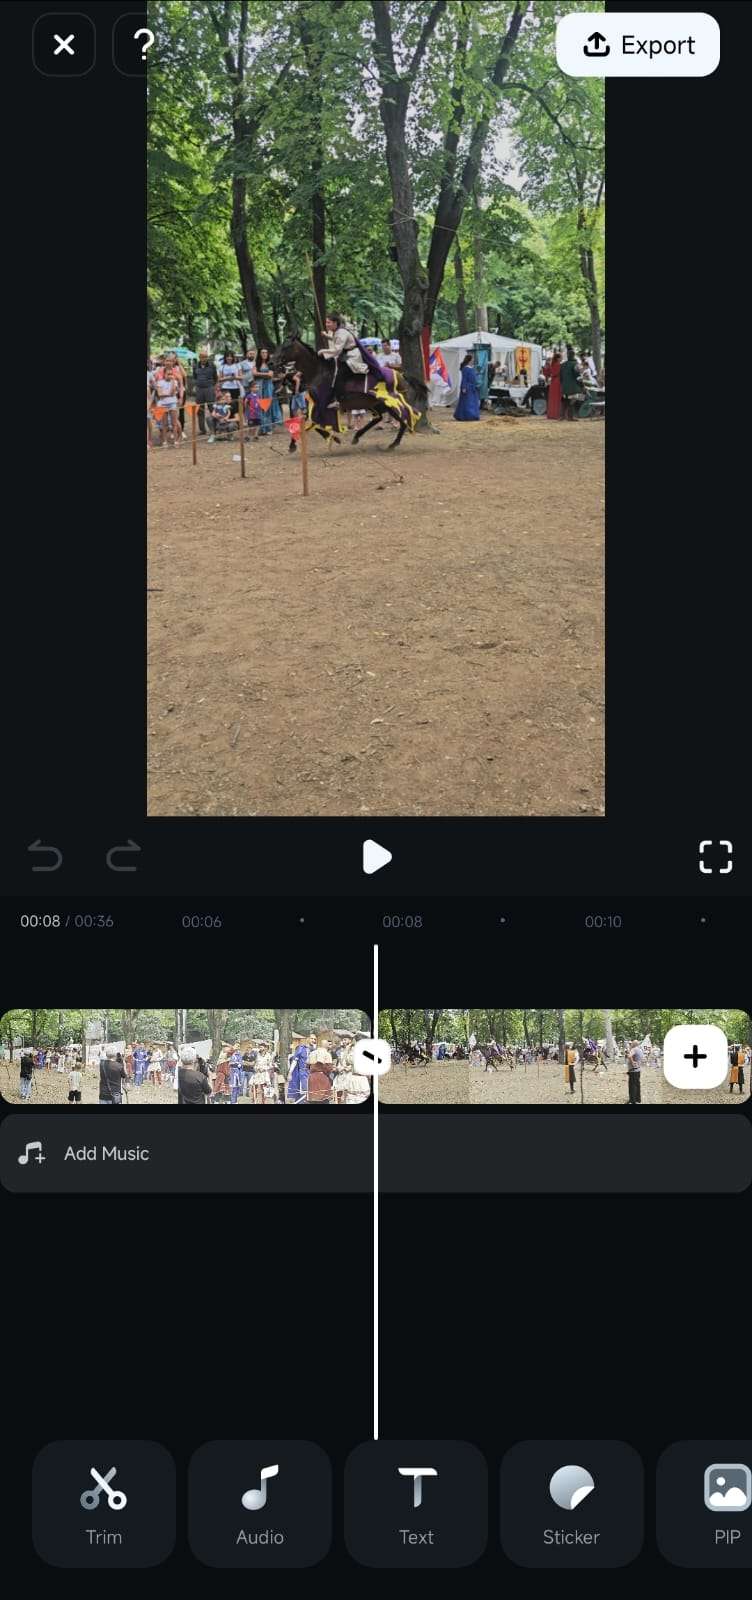
3. The app's Work Area will show the Preview panel, the Timeline, and the Toolbar at the bottom. You can access the Opacity tool by tapping the Trim button in the Toolbar.
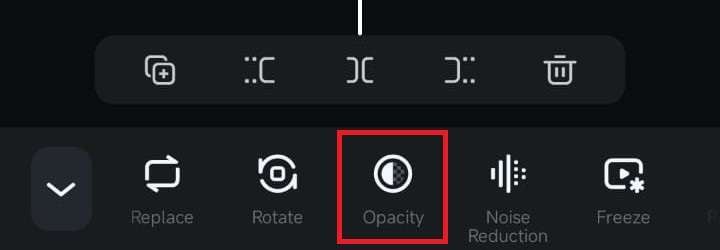
4. Scroll the now-changed menu and tap on Opacity.
Adjust the Opacity of One or More Clips
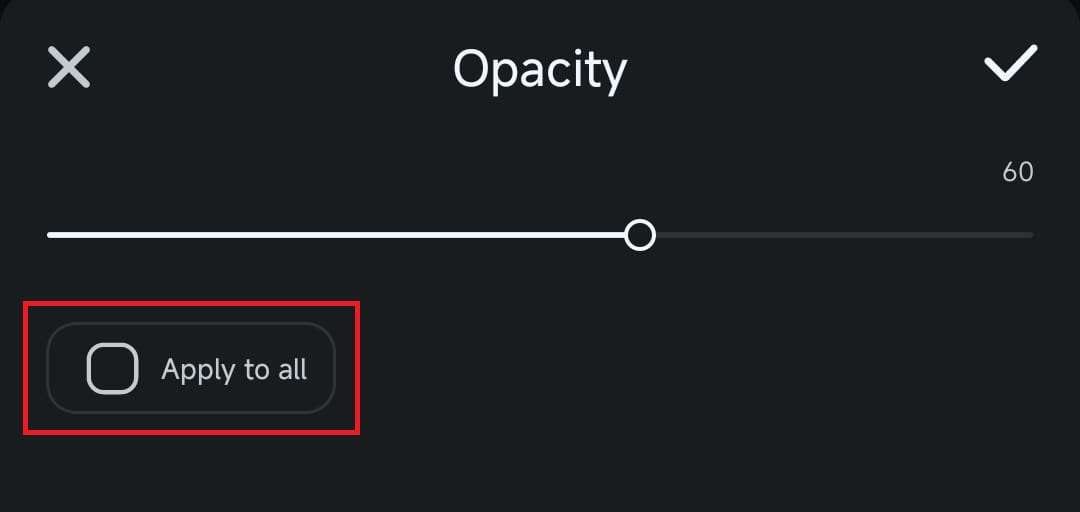
As soon as you launch the Opacity tool from the Toolbar, the bottom of the screen will show the Opacity menu, where you can do the following:
1. Lower the clip's visibility by moving the opacity slider to the left. You can also select other clips in the Timeline and repeat the process to adjust their opacity.
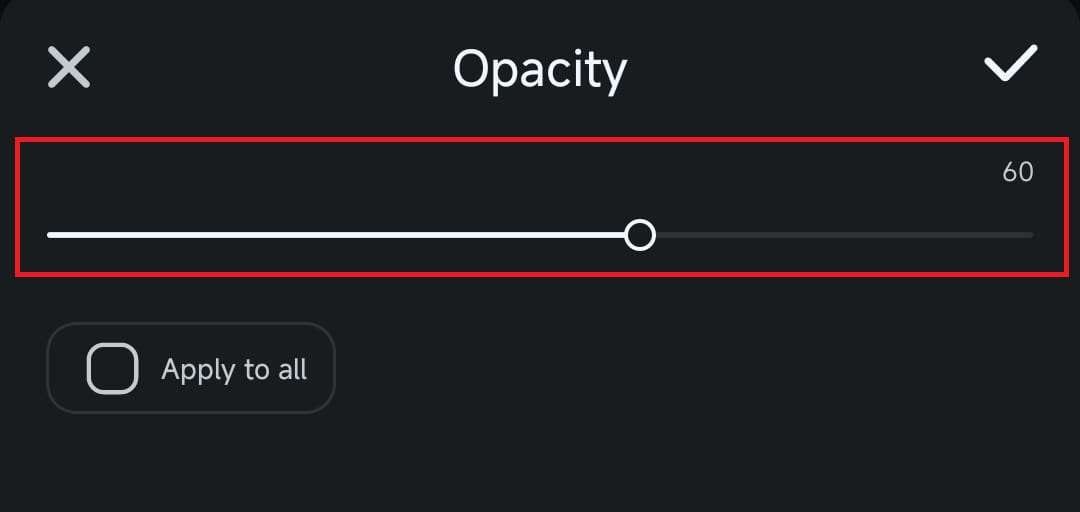
2. Alternatively, check the Apply to all box in the Opacity menu, and any adjustments will be applied to all video clips in the Timeline.
Was This Helpful?
Thanks for your feedback.
Can you tell us what didn't work for you?
Email address is optional. Leave it blank if you do not need follow-up.
Feedback sent!